Pages
"The best things in life are nearest: Breath in your nostrils, light in your eyes, flowers at your feet, duties at your hand, the path of right just before you. Then do not grasp at the stars, but do life's plain, common work as it comes, certain that daily duties and daily bread are the sweetest things in life"
Robert Louis Stevenson
Robert Louis Stevenson
March 17, 2015
March 16, 2015
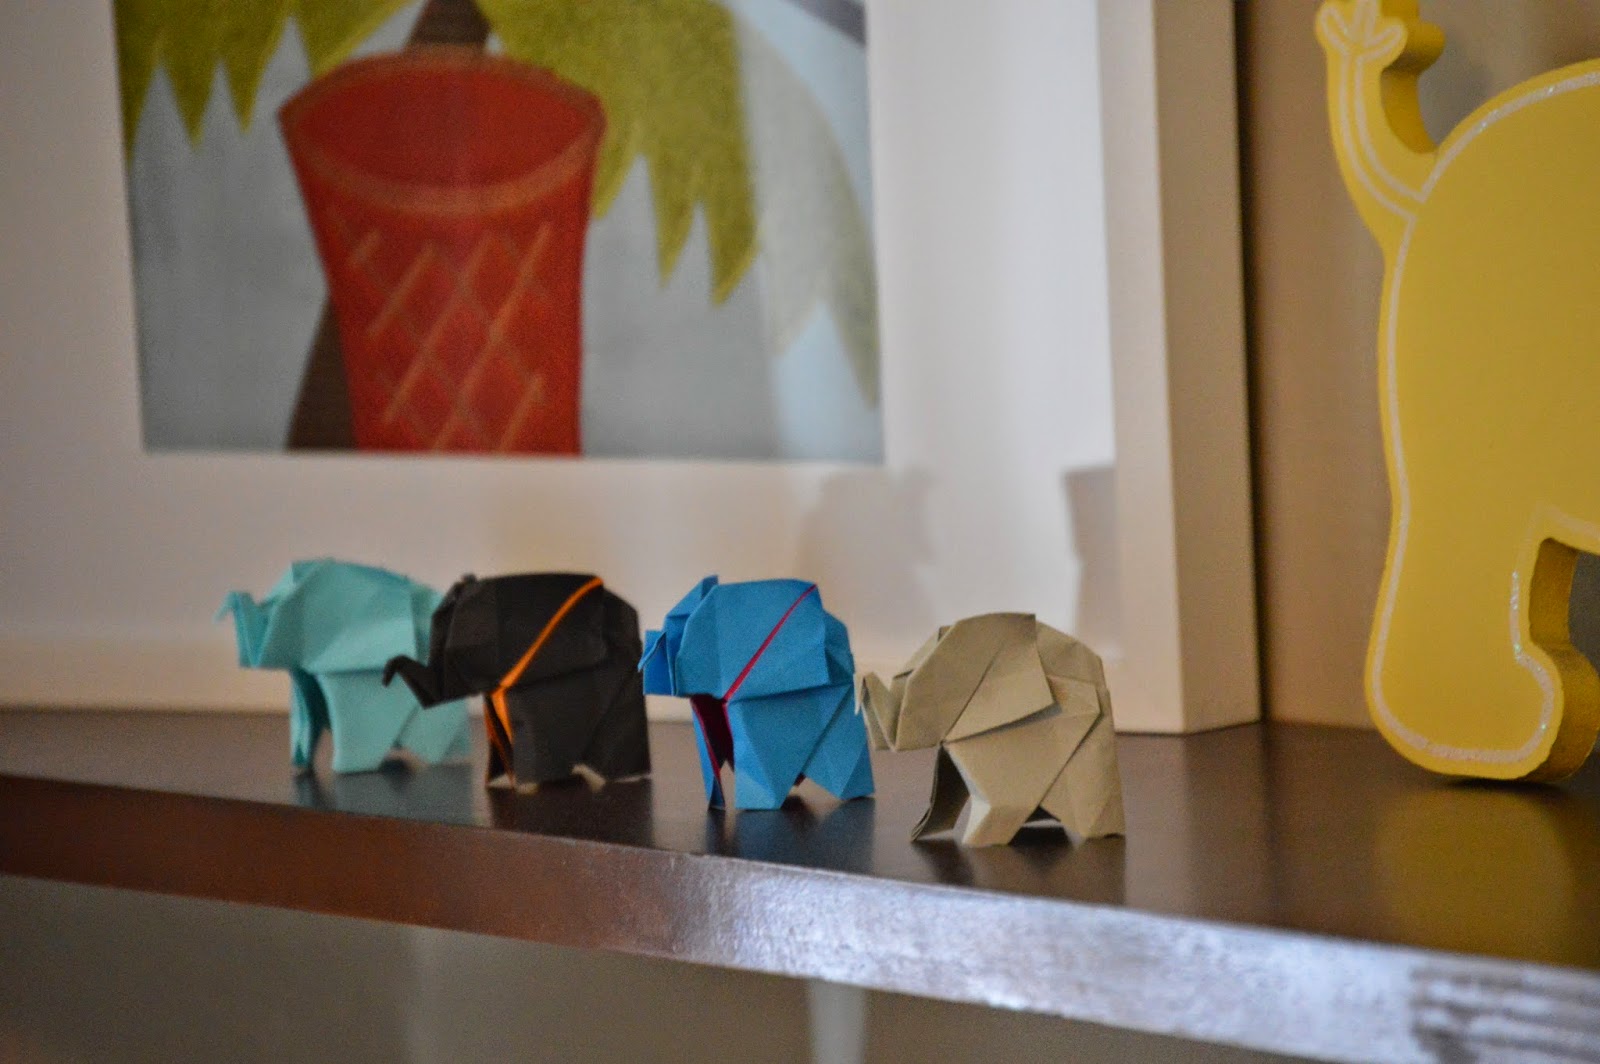
Cute and Original Origami Elephants for the Nursery
Using Origami for decoration is relatively new to me. I've played with Origami, I made a swan once and I was impressed by the origami balloons (a cube made out of paper where a gentle blow puffs it up into a balloon), and I even fold my plastic bags using an Origami technique, but never really though of it as a decorating alternative. That is until my mom started trying Origami last summer. She made boxes, stars, and some animals. She even made a whole bunch of Christmas ornaments in beautiful pastel colors using paper with intricate designs. The combinations were really gorgeous. I have another post on that coming up.
 |
| origami elephants |
http://www.origamispirit.com/2013/04/how-to-make-an-origami-elephant/
I think this ended up looking really cute and I think it adds a lot of color and personality to the nursery. I love the way it sits with the rest of the room.
Wonderfully Golden Crunchy & Crispy Homemade French Fries (from scratch)
I love french fries! and when I was living in Belgium I was able to get fries often in the many Friteries all around town. But since moving back, getting fries means going to Mc Donalds, Burger King or buying oven fries at one of the grocery stores. I am not a really picky eater so I can eat all this fries, but there is nothing better than actual fries made from scratch.
So, I ventured to make my own fries after calling my mom as she used to make them for us when I was growing up. After a very simple few steps, I ended up with these amazing fries! seriously they were really delicious.
Ingredients:
-Potatoes (I like gold potatoes)
-Vegetable oil
-Salt
-Water
-Mayonaise, Ketchup, any other sauce
 |
| Ingredients |
How to:
1. Pour oil in a small pan (fill about about half the pan) and heat in medium high heat.
2. Cut all potatoes into long strips
3. Submerge them in water with lots of salt for 20 minutes
3. Dry the potatoes with kitchen paper towels. (very important, because otherwise the fries will absorb the oil and end up soggy instead of crispy and crunchy.)
4. Lay small batches of potatoes in oil and fry until golden, about 10 minutes each batch.
5. Add salt to the fries as soon as you take them out of the pan so that the oil help the salt to stick to them.
6. Enjoy the fries with mayonaise
 |
| Submerge potatoes slices in salted water |
 |
| Dry potatoes thorougly |
 |
| I love to eat them with Mayo instead of ketchup! |
February 08, 2015
DIY: Fun, quick and Easy Pipe Cleaner Snowflake Tutorial
I have not mention it yet, but me and a friend are teaching and Intro to Spanish class for preschoolers. We are in our trial period right now, and depending on how things go, we might make it into a full class for September this year. We will see...In any case, for the lesson I prepared for this past week, I wanted to have a fun activity. The theme was "The Weather" and textured, colorful little snowflakes were a perfect visual aid for the little guys.
The good news is that after the lesson, the kids can keep these snowflakes and use them as fun winter decorations. (They would've also been great for Christmas but I had so many other projects around Christmas time that these one never popped to mind).
So in any case, I took my Spanish lesson as an opportunity to create a tutorial about how to make a simple pipe cleaner snowflake. I am sure there are a lot of snowflake tutorials out there, but on purpose, I did not Google any of them, so any similarities with others you might see are pure coincidences.
Let's begin: they are very easy to make, you can make them small using just 1 pipe cleaner or big using 3 pipe cleaners. Personally I think the snowflakes look much cuter in the smaller version, so I thought it was better to make a lot of small snowflakes versus one or two of the bigger one.
If you are making the bigger version (using 3 pipe cleaners) just go to step 5 and tie the pipe cleaners as on the picture
 |
| Step 1: "Z" shape the pipe cleaner |
 |
| Step 2: Gather all the sides |
 |
| Step 4: Cut the loops |
 |
| Step 5: this is the way it should look once you cut the loops. |
 |
| Step 6: Make a "Z" on each of the 6 legs |
 |
| Step 7: then pull the "Z" down towards the rest of the "leg" and form a "Y". Repeat for each side |
January 24, 2015
Doodling on Glass Canisters a quick and easy DIY
One morning, back in October last year, I opened my pantry and a moth flew out. I thought it strange, but didn't worry about it until a few days later, when I was killing time reading my local discussion forum and one of the titles read: "help: pantry moth infestation." P A N I C! Did I have an infestation I did not know about?....It turns out I didn't, but I did google "pantry month" and realized that moths could enter your pantry, feed on anything that is not fully and properly sealed, lay eggs and create and infestation pretty quick. Also, this apparently is a result of very warm summers and leaving back doors open. So basically my open oatmeal or flour packages were a moth feast just waiting to happen.
Needless to say I went on a pantry cleaning spree, taking everything out and throwing out every opened box. I guess the moth I found had probably just entered the pantry and I caught it just in time. But in any case I got enough glass containers to put all of my pantry staples to avoid any chances with infestations.
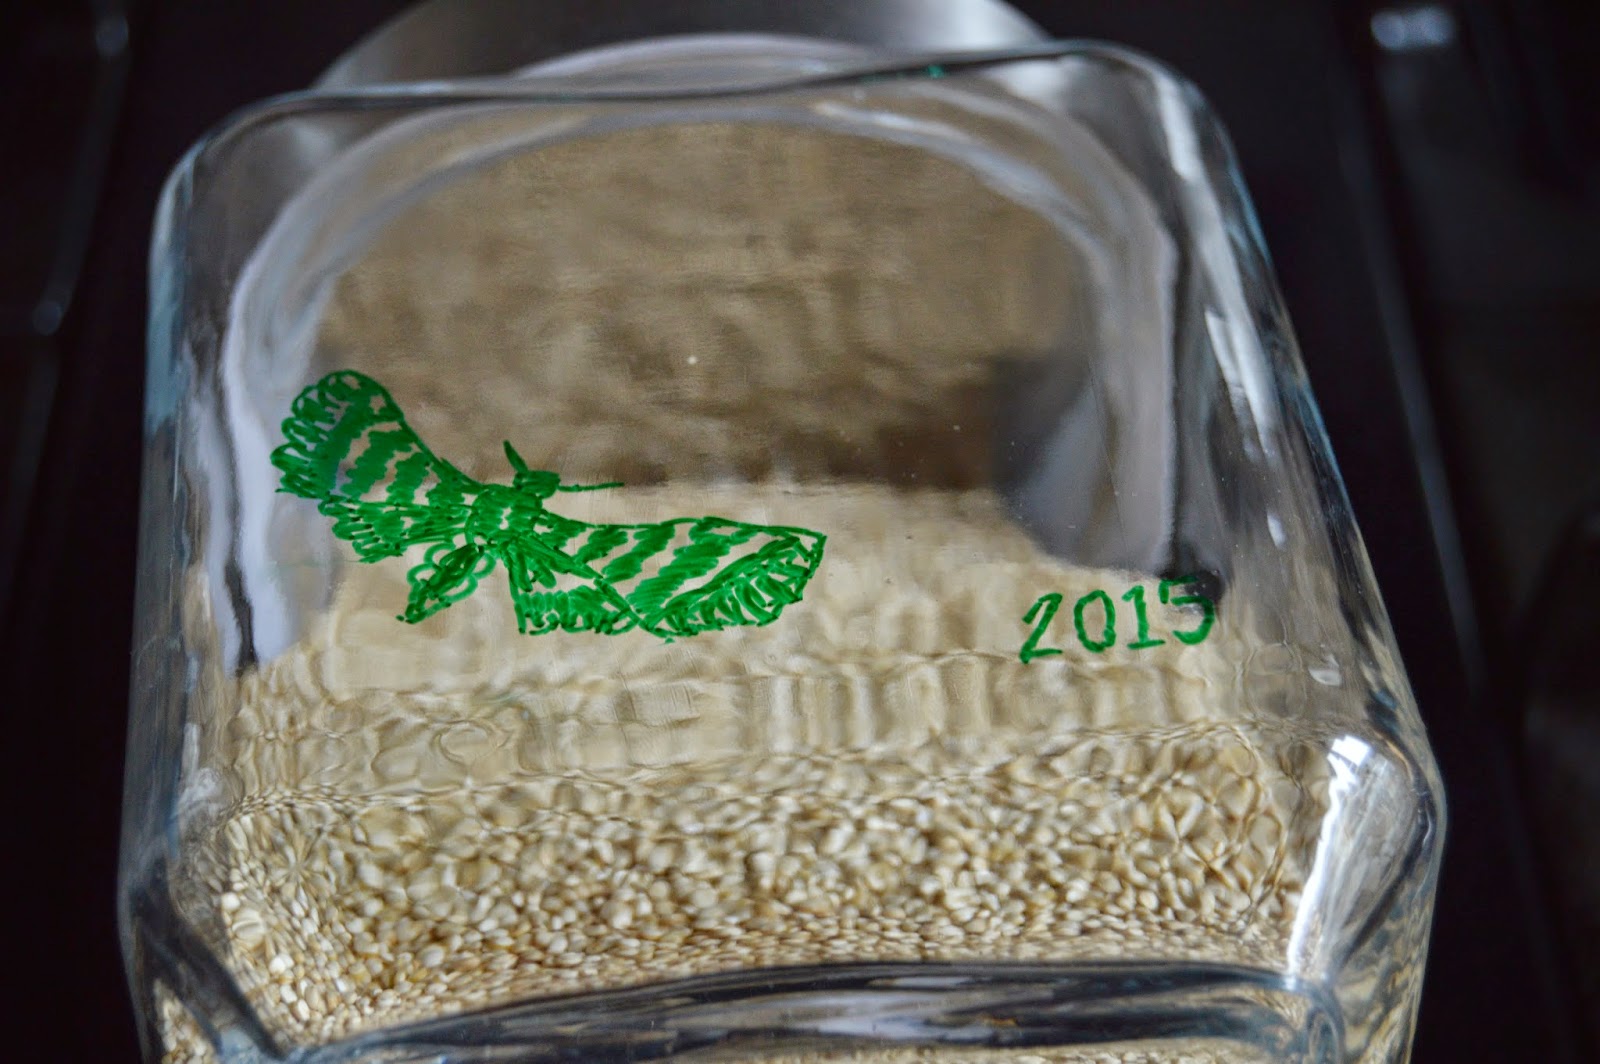
The glass canisters were just plain, transparent glass with silver colored lids. They looked good enough for a simple pantry glass container, but I thought it would be an added benefit to "beautify" them into differentiation (flour or powdered sugar?) so I took a fine tip over-projector marker and started doodling. It literally took me all of 5 minutes, and it brought me back to my high school days when I spent lots of time doodling in the back of my notebooks.
My idea of beautifying the plain canisters .......a moth.
Simple, efficient, and DIY were you can put your personal stamp on!
And by the way, when you want to change the content of the glass canisters, just clean the doodles with water or rubbing alcohol

Subscribe to:
Comments (Atom)


